Mastering Level Picture Hanging: Tips for a Secure and Straight Display
Hanging a picture frame seems simple enough until you step back and notice it is slightly off. That small tilt can bother you for years, but getting it right does not require a professional. With the right tools and a bit of patience, you can achieve level picture hanging every time. I have hung dozens of frames in my own home, from small family photos to a heavy gallery wall, and the process always comes down to preparation and the proper hardware.
The secret to a straight picture is not just in the frame itself but in the system that holds it. Picture wire, a good picture hook, and a reliable wall anchor work together to keep your art secure. Without a solid connection, even the most carefully measured frame will slip. Over time, gravity and vibration can cause the wire to shift, making the frame tilt. That is why understanding the mechanics behind level picture hanging matters as much as lining up the edges.
Start with the Right Hardware
Before you pick up a hammer or a drill, look at the back of your picture frame. Most frames come with a sawtooth hanger or a simple loop, but for heavier pieces you want something sturdier. A d-ring hanger screwed into the frame rail provides a stable attachment point for picture wire. I prefer d-rings over screw eyes for larger frames because they distribute weight more evenly and reduce the risk of the frame splitting.
For the wire itself, do not use standard string or thin craft wire. Picture wire is braided steel designed to hold weight without stretching. If you are hanging a frame over ten pounds, step up to a thicker gauge of wire rope. Wire rope resists fraying and holds its shape under tension. You will also need a crimp sleeve to secure the wire ends. A crimp sleeve is a small metal tube that you pinch with pliers to lock the wire in place. Without it, the wire can slowly pull through the d-ring, causing the frame to sag.
Some people skip the wire altogether and use a turnbuckle. A turnbuckle lets you adjust the length of the wire after the frame is on the wall. This is useful for gallery walls where you want all frames to align perfectly. I have used turnbuckles on a set of three frames in a row, and being able to tweak each one without re-measuring saved me time.
Measuring and Marking
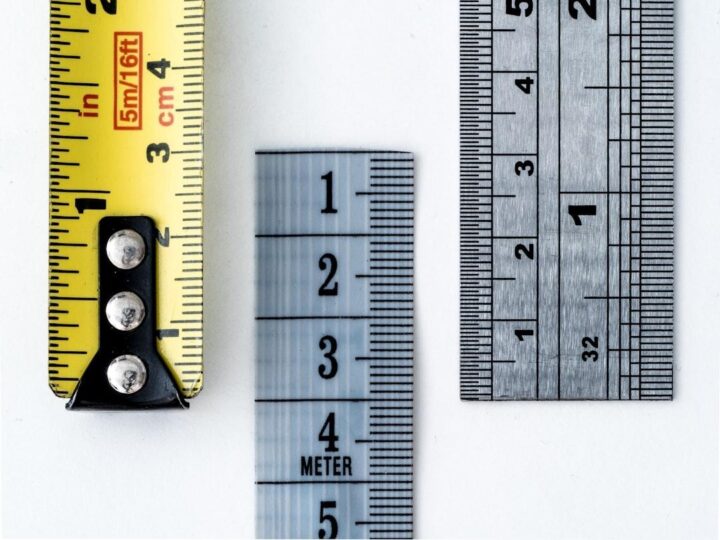
Once your frame is wired, you need to figure out where the picture hook goes on the wall. Hold the frame at the height you want and mark the top edge with a pencil. Then measure the distance from the top of the frame to the wire when the wire is pulled taut. That measurement tells you how far below your top mark to place the hook. I always double-check this with a measuring tape because a small error here throws off the whole display.
For a single frame, a standard picture hook with a nail works on drywall if the frame is light. For anything heavier, use a wall anchor. A wall anchor expands behind the drywall to grip the material. If you are hanging above a fireplace or in a hallway where the wall might have studs, use a stud finder to locate a solid spot. Screwing a picture hook into a stud is the most secure option, especially for frames over twenty pounds.
Mark the spot on the wall with a pencil, then tap the nail in at a slight downward angle. This angle helps the nail resist pulling out. For a picture hook with two nails, make sure they are level with each other. A bubble level or a laser level can help you check. I use a laser level when I am hanging multiple frames on the same wall because it projects a straight line across the entire surface. With a laser level, you can mark all your hook positions without moving a ruler back and forth.
Hanging and Adjusting
Set the wire on the hook and let the frame settle. Stand back and look at it from different angles. If the frame is not straight, adjust the wire on the hook. Sometimes the wire catches on the hook in a way that tilts the frame. Pull the wire gently to one side or the other to center it. If the frame still leans, the wire might be unevenly cut or the d-rings might not be aligned. Check that both d-rings are at the same height on the frame. Even a quarter-inch difference will cause the frame to tilt.
For frames with a single hook, the wire forms a V shape. The angle of that V affects how easily the frame shifts. A wider angle, with the wire closer to the top of the frame, makes the frame more stable. A narrow angle, with the wire near the middle of the frame, lets the frame swing more. I try to keep the wire about one-third of the way down from the top of the frame. That gives a good balance of stability and visual balance.
If you are hanging a frame on plaster or brick, you need a different approach. A hammer alone will not drive a nail into brick. Use a masonry bit and a drill to create a pilot hole, then insert a wall anchor designed for masonry. The same principle applies to tile. A hammer drill with a carbide bit will get through without cracking the tile. Always wear safety glasses when drilling into hard surfaces.

Creating a Gallery Wall
A gallery wall requires more planning than a single frame. Start by laying the frames on the floor and arranging them until you like the layout. Measure the overall dimensions of the arrangement, then transfer that to the wall with pencil marks. I use a laser level to draw a faint horizontal line across the center of the gallery area. Then I hang each frame so its center aligns with that line. For a more dynamic look, you can stagger the frames, but keep the spacing consistent. A measuring tape and a bubble level are essential here.
One trick I learned from a friend who runs a framing shop is to use a template. Cut pieces of kraft paper to the size of each frame and tape them to the wall in your planned arrangement. Step back and adjust the paper pieces until you are happy. Then mark where the hooks go on each paper piece. Remove the paper and install the hooks. This method lets you see the layout without driving nails into the wall first.
When hanging multiple frames on a gallery wall, level picture hanging becomes even more important because a single crooked frame stands out against the others. Use a laser level to check each frame as you hang it. I also keep a small bubble level handy for quick checks. After all frames are up, walk the length of the wall and look for any that need a nudge. A slight adjustment with a fingertip is usually enough to straighten a frame that is off by a hair.
Maintaining Your Work
Once your frames are up, they can still shift over time. Temperature changes cause the wire to expand and contract slightly. A heavy frame might settle after a few weeks, lowering the hook side a bit. I check my frames every few months and give them a gentle push if needed. For frames with turnbuckles, you can tighten the wire without removing the frame from the wall. That is one of the reasons I recommend turnbuckles for large or valuable pieces.
If you ever need to move a frame, remove the wire from the hook first. Pulling the frame straight off can damage the wall anchor or the hook. Replace the wire every few years if you notice fraying. Picture wire is cheap, and replacing it prevents a fall that could break the frame or the glass.
I once hung a heavy mirror using only a single picture hook and no wall anchor. It stayed up for two years before the nail started pulling out of the drywall. I caught it before it fell, but that experience taught me to always use the right hardware for the weight. A stud finder and a wall anchor add five minutes to the job but save you from a broken frame and a hole in the wall.

The phrase "level picture hanging" might sound like a simple task, but it involves a chain of decisions. The wire, the hook, the anchor, and the measuring tools all play a part. When each element is chosen and installed correctly, the frame stays straight and secure for as long as you want it there. That is the goal of level picture hanging: not just a straight frame today, but one that remains straight through the seasons.
Whether you are hanging a single family portrait or a full gallery wall, take the time to do it right. Use a measuring tape to find the center. Use a laser level to mark your hook positions. Choose picture wire and a crimp sleeve that match the weight of the frame. And always test the frame with a bubble level before you call it done. A few extra minutes of care will give you a display that looks professional and stays that way.